
Heritage Motorcycle Luggage Project
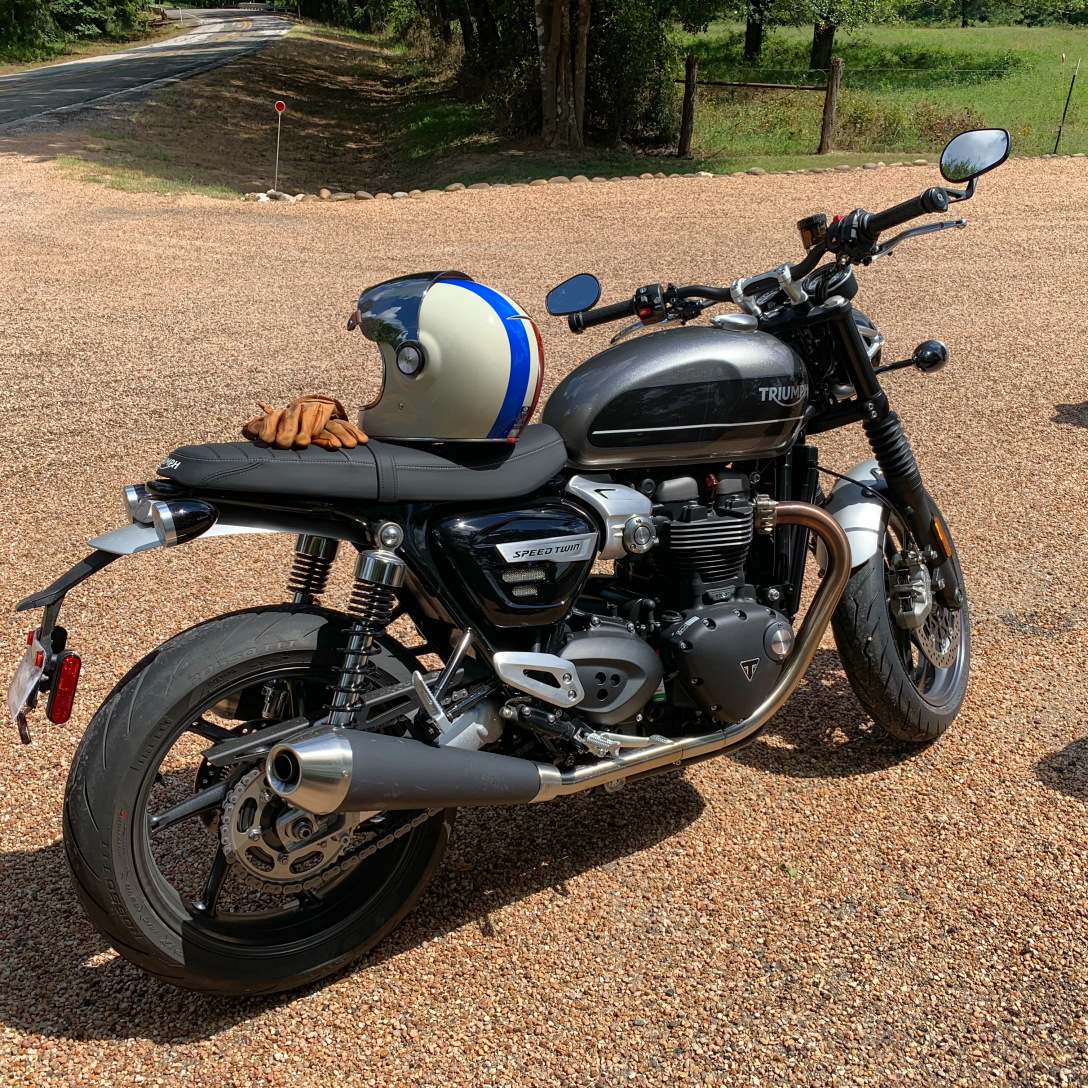
I’m a fan of Cafe Racer styling and design principles for my Triumph Bonneville.
That means: simplicity, reduced weight, and “period” styling.
With that in mind, I was loathe to add any kind of luggage to my motorcycle – if I needed to transport anything, I would wear a backpack or try to fit it in a cargo net on the back of my seat. When I would ride with friends for the day, I’d sometimes bring a small tank bag to hold water, an external battery pack and cable for my iPhone, and some snacks. That worked fine for the first couple of years.
Now that I live in Austin, Texas, I ride my bike all year long and as often as I can. At times, I find myself in a weird position: I want to bring an item with me, like a notebook, but don’t want to throw on a bulky, sweat-inducing backpack for something that weighs just a few ounces, but is too big to fit in my inside jacket pocket. (Yes, I’m OCD. Why do you ask?) 😉
So, I considered panniers. One would suffice, as I could always supplement my total carrying capacity with a backpack if I found myself in a position where I had a bunch of stuff to carry but didn’t want to drive my car.
I started combing the interwebs, looking for a pannier that had sufficient storage for my MacBook Pro, notebook and maybe some clothing layers for long riding days when the temperature might swing widely or gets wet.
First, I found that motorcycle panniers are typically sold in pairs. That was an annoyance because I only wanted one and didn’t want to have an extra one collecting dust in my garage.
Second, panniers are generally targeted to one of two rider types: 1) Adventure, which means they’re waterproof and very technical or; 2) Cruisers, which means they look like saddlebags you might see on a horse.
Neither fit my style or the look I was going for.
Lastly, anything that I found that was even close to my “period styling” was very nice, but also very hipster and very expensive.
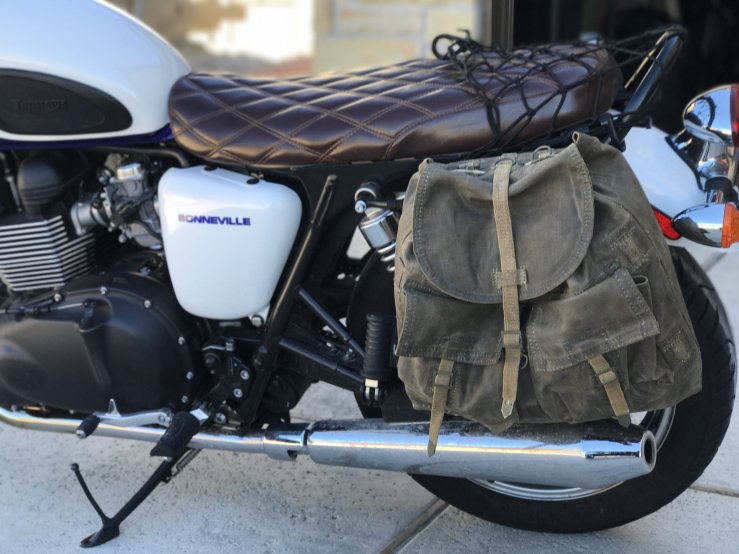
After a few hours over the course of a few days, I found Surplus Bike Bags. The owner, Chris, has figured out a way to add some rigidity to old military bags to help turn them into bicycle panniers. Sure enough, Chris also tends to the needs of motorcycle riders.
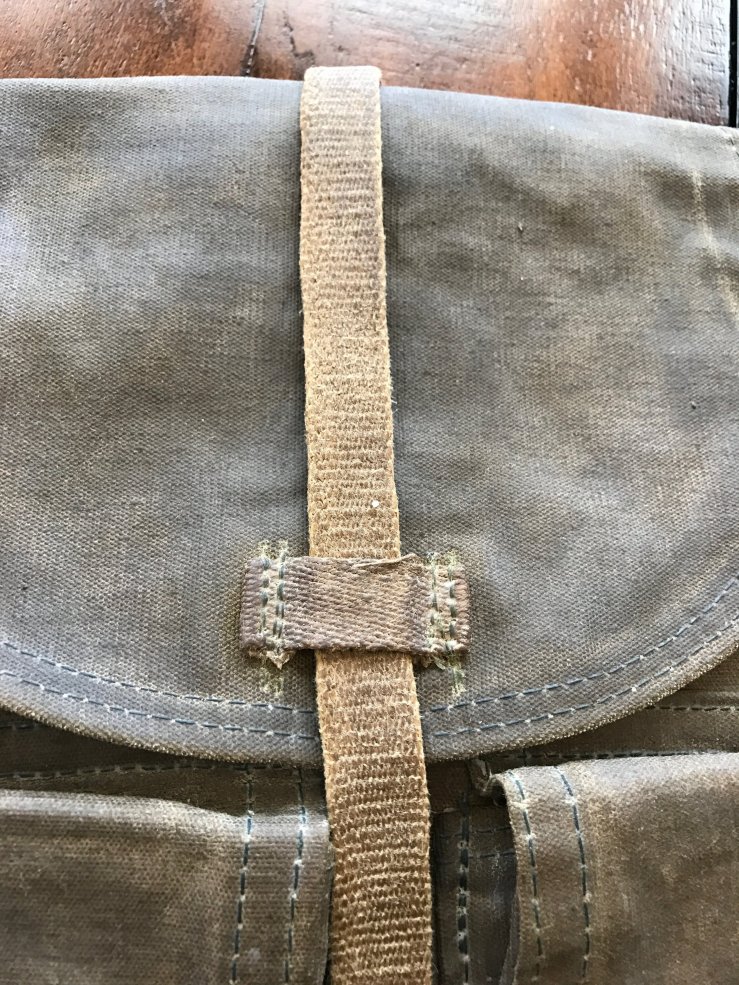
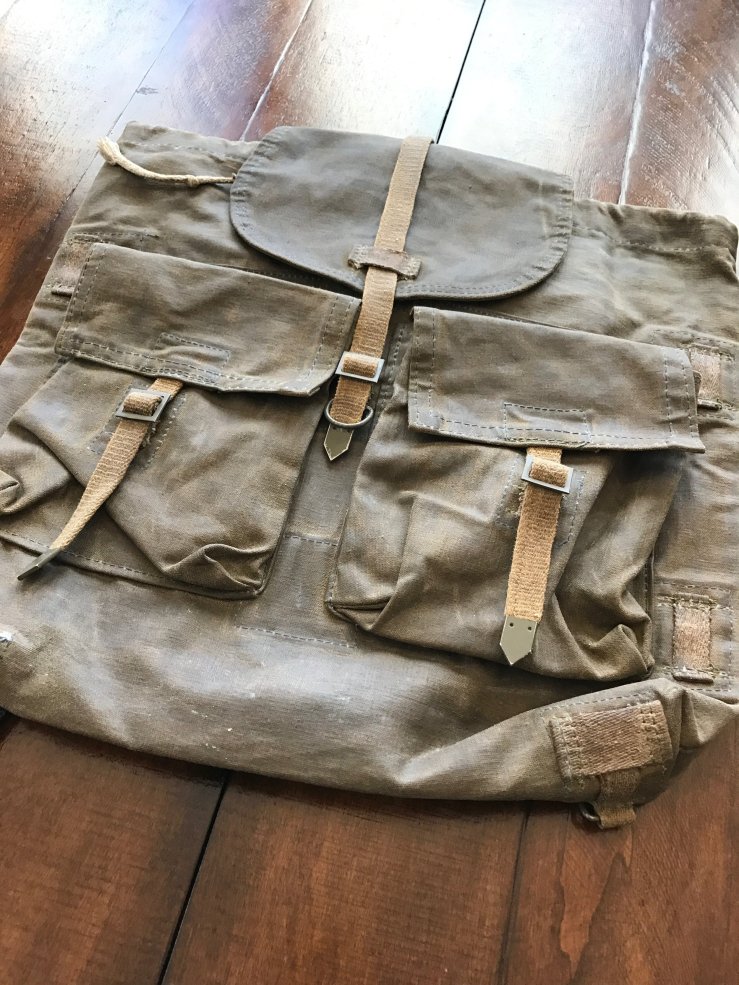
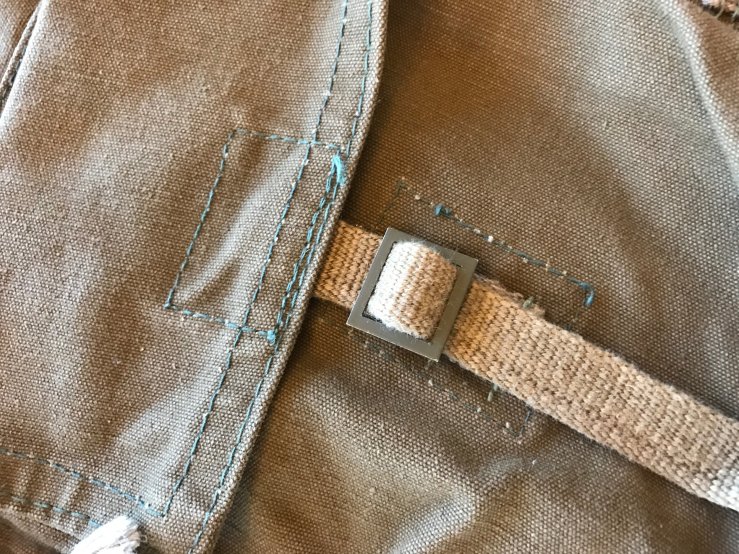
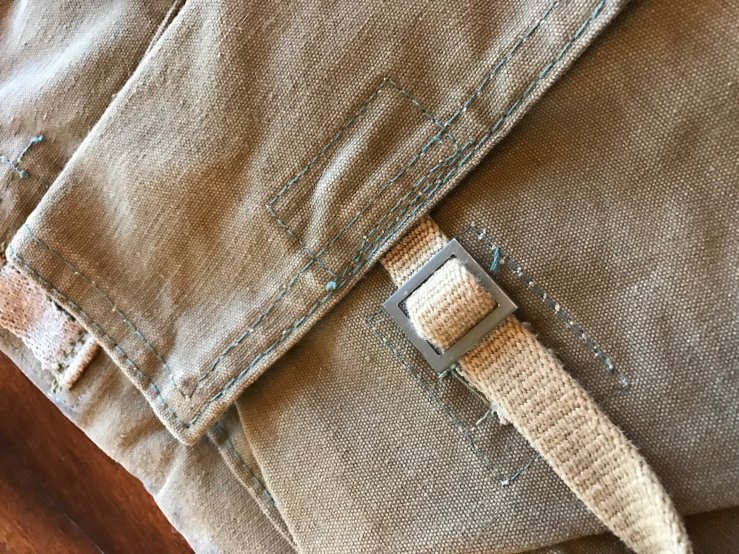
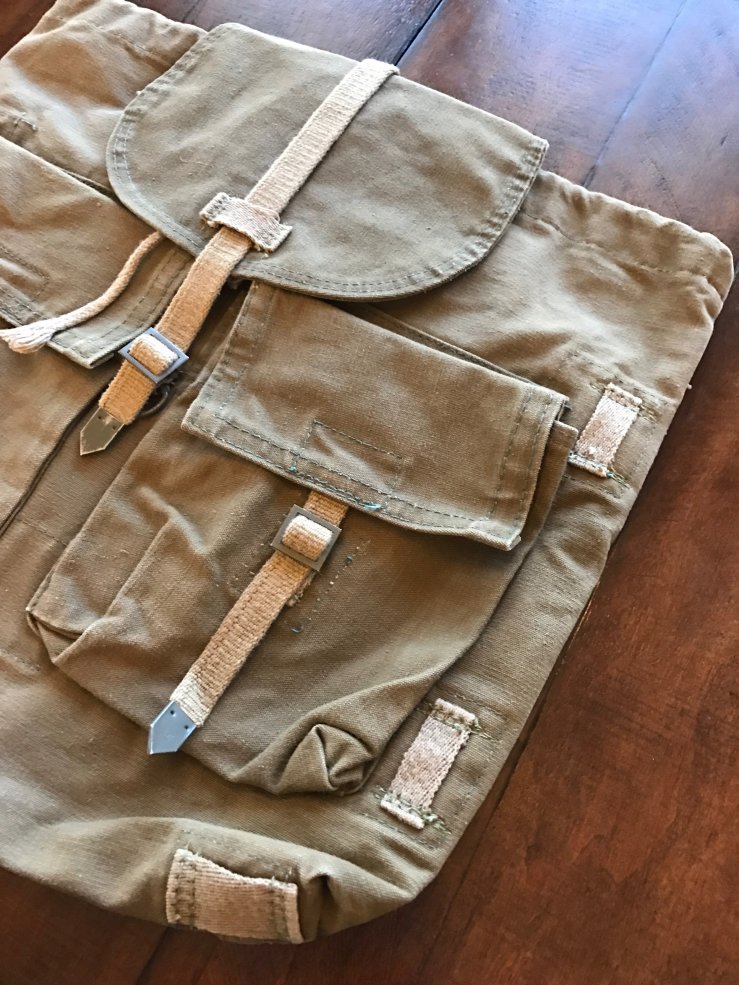
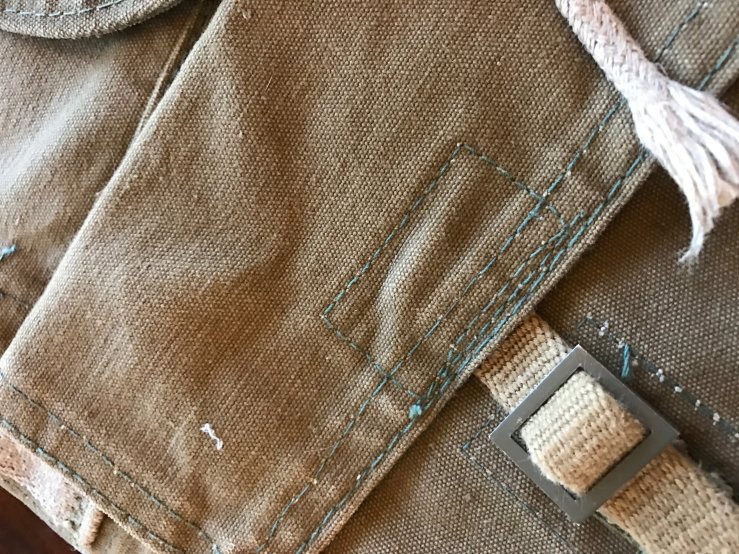
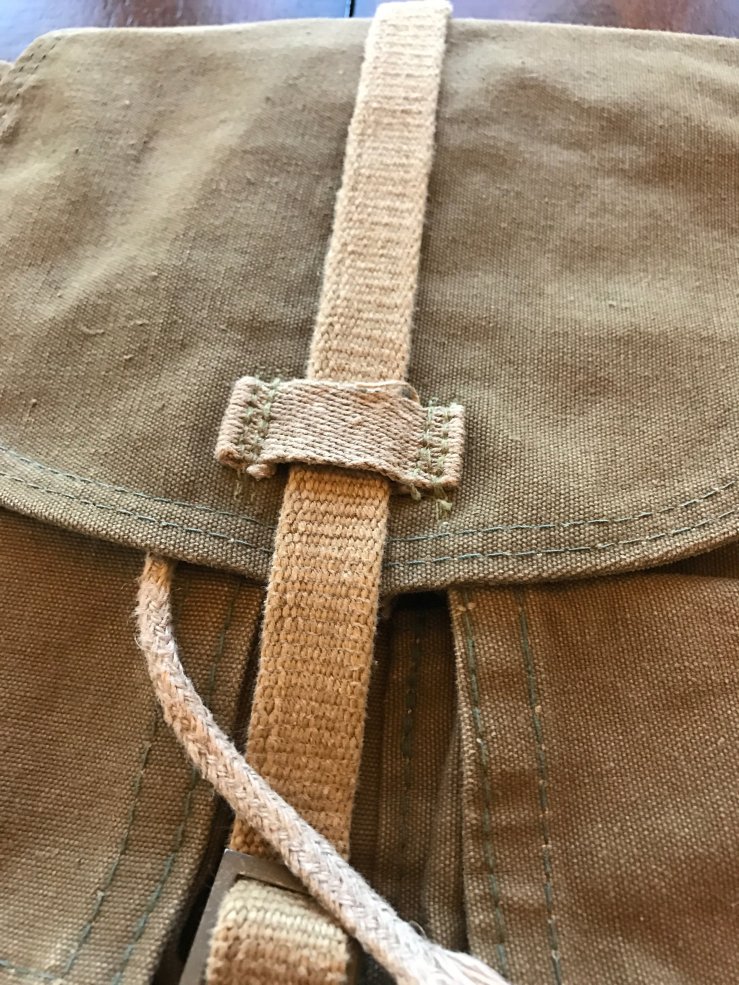
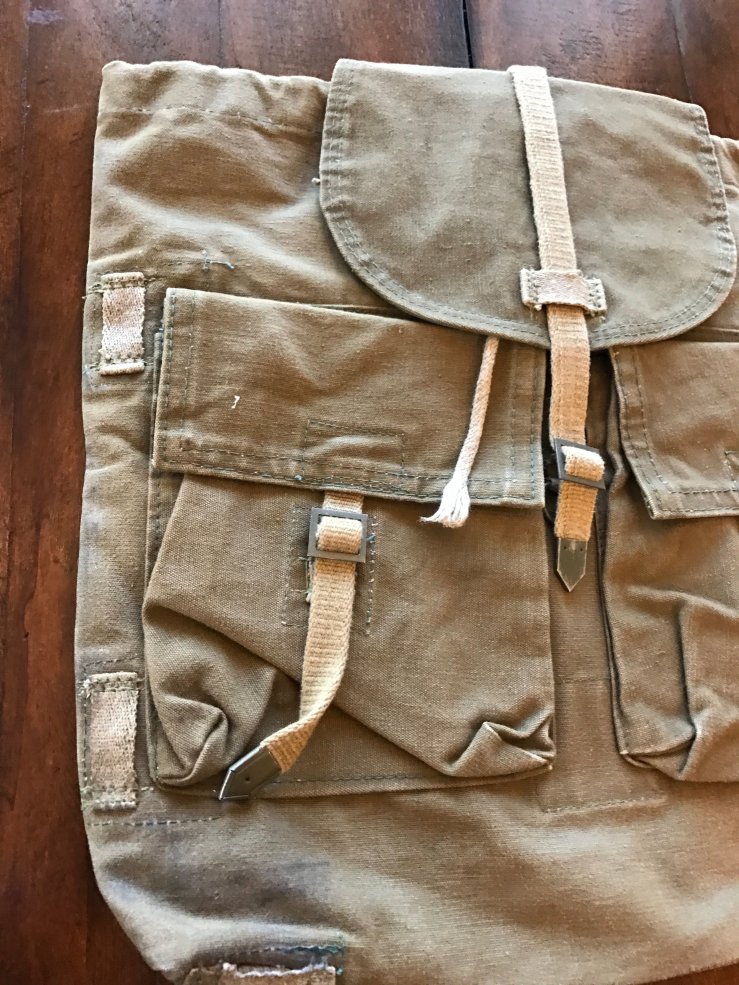
I chose the Vintage Czech Army Canvas M60 from the 70’s-80’s for a few reasons: its size, its ability to expand at the top to fit larger items using the drawststring, the extra pockets on the front, and its color
My only hesitation in completing the purchase right away was that it wasn’t waterproof or water resistant. Even on a dry day, you’re bound to hit a puddle and I can’t have the contents of the bag get soaking wet.
For an additional $5, Chris offers to apply a waterproofing spray but that wasn’t going to give me the vintage look I was going for.
But this did: traditional fabric wax.
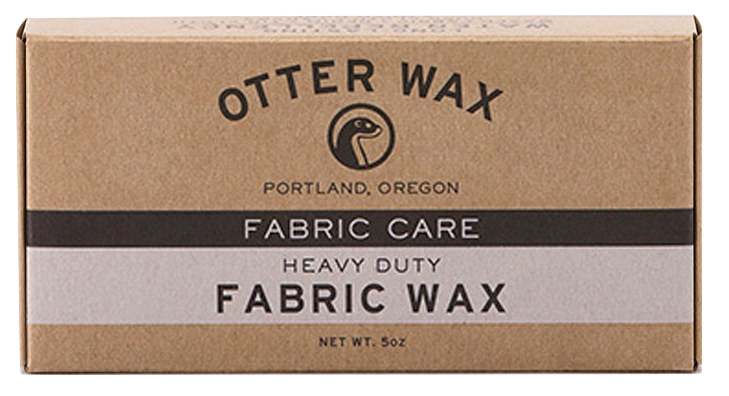
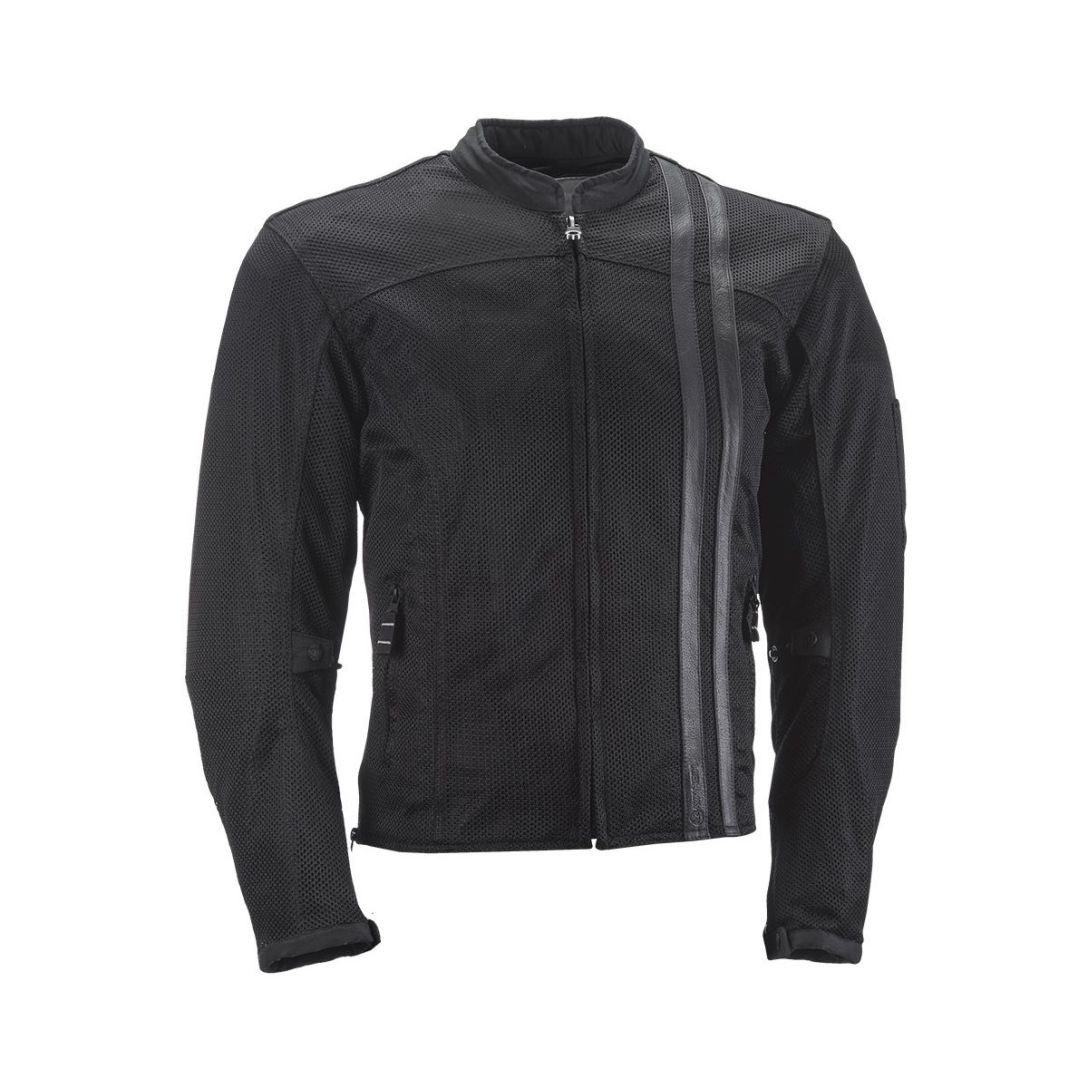
I love the look and feel of waxed cotton canvas (my winter riding jacket uses this material) so I jumped on it.
I’ve never used fabric wax before but I figured I would give it a try.
I ordered a set of side luggage racks from PMRacks (Yes, a pair – there was no getting around that) and sent the measurements to Chris at Surplus Bike Bags. I was lucky – he had already completed a bag for someone with the same racks, so it was a piece of cake.
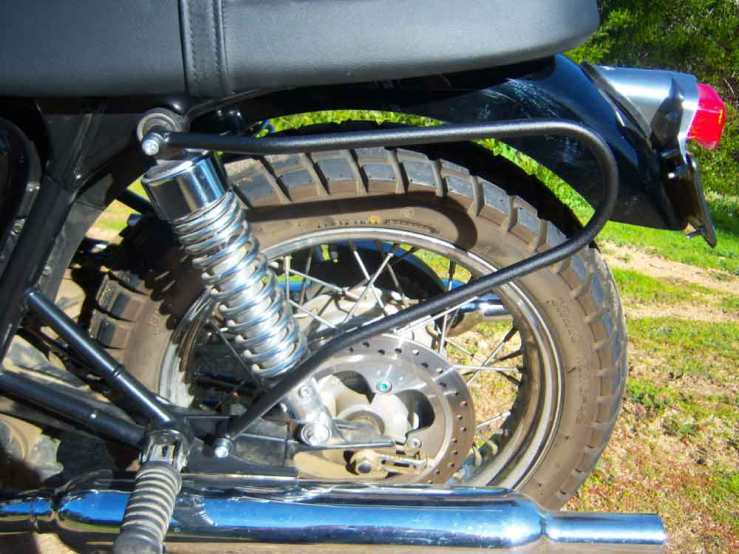
The rack (left side) was easy enough to install. Actually, the thought of installing them was giving me some anxiety: I’ve never wrenched anything of significance on my bike and was worried I would screw it up. I learned a bunch in the process which only took 5 minutes.
The waxing? That took a bit longer. Like, 3 hours and 25 minutes longer.
Yep, it took me 3.5 hours and an entire 2.5 oz bar of fabric wax to cover the bag. It was very Zen-like, just applying the wax and rubbing it in while I listened to an audiobook.
Technically, it’s still not done – there are a couple of sections that need to be reworked, like the back of the bag, which is most certainly going to get hit by moisture. I’ve ordered another bar of wax to make sure it’s thoroughly protected and I’ll apply it to the critical areas next week.
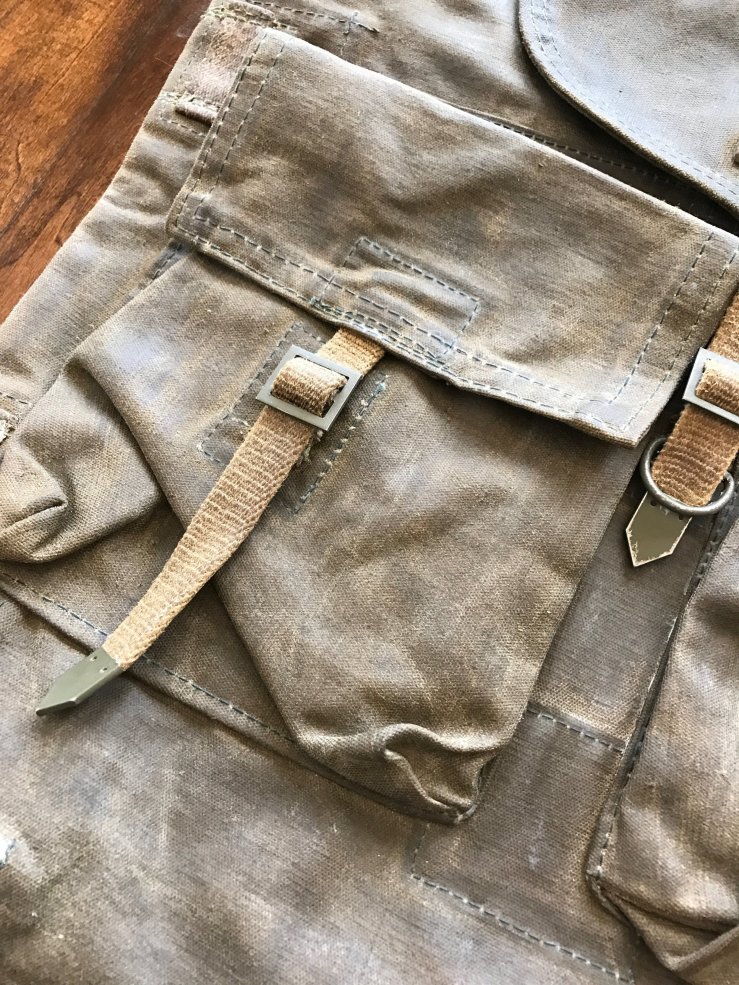
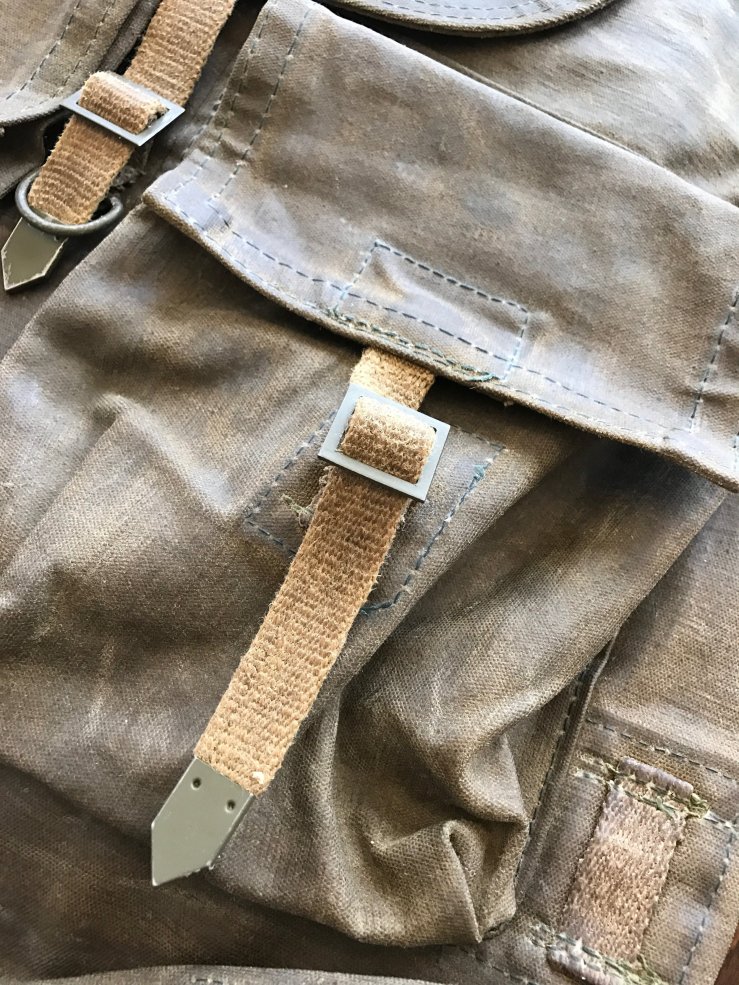
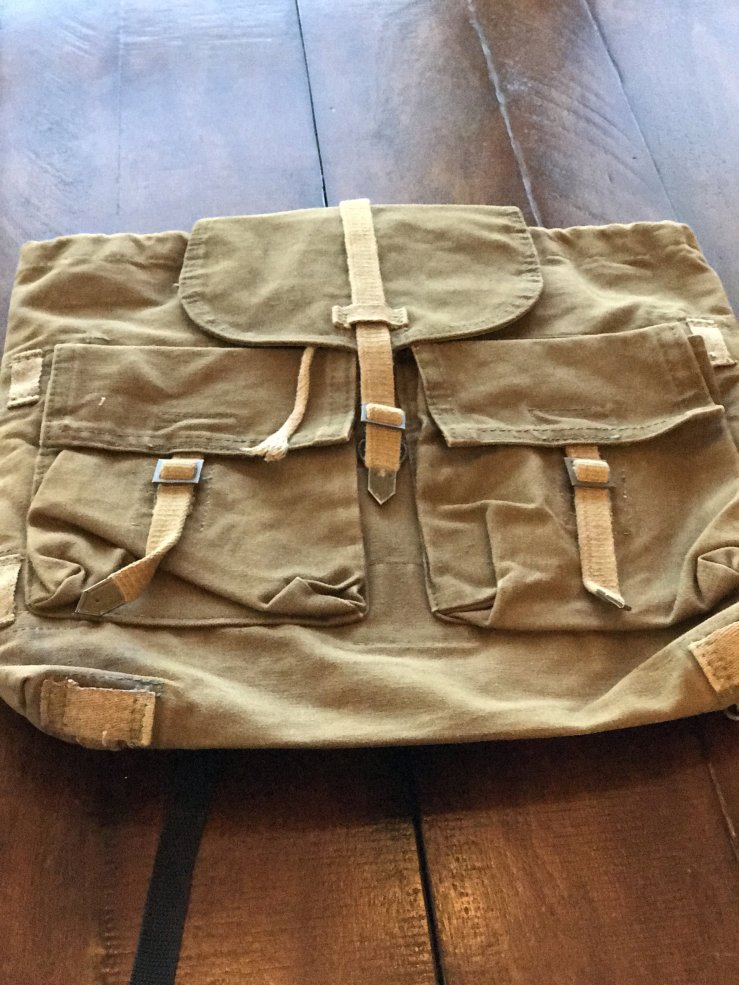
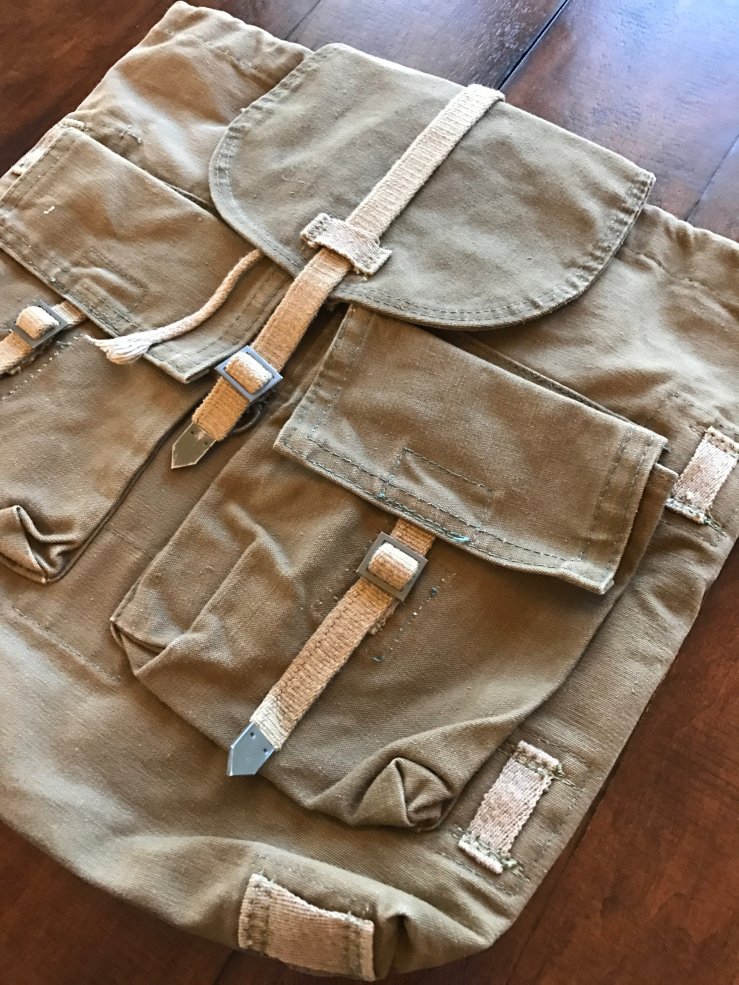
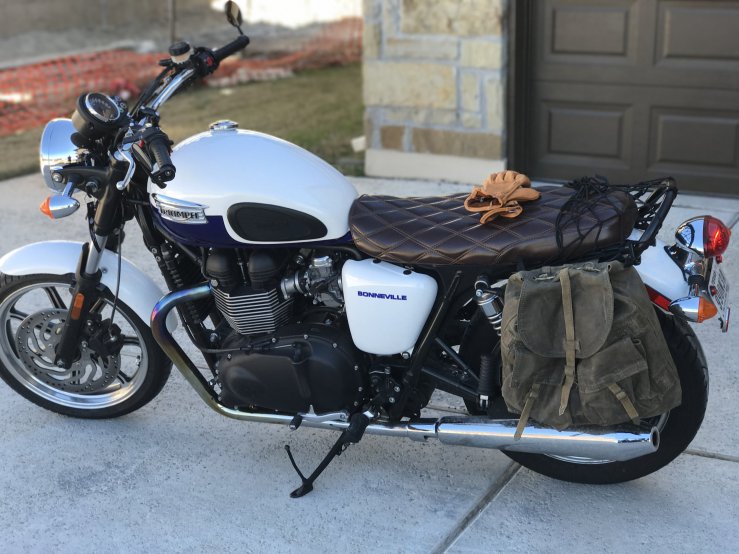
I couldn’t be happier with the results.
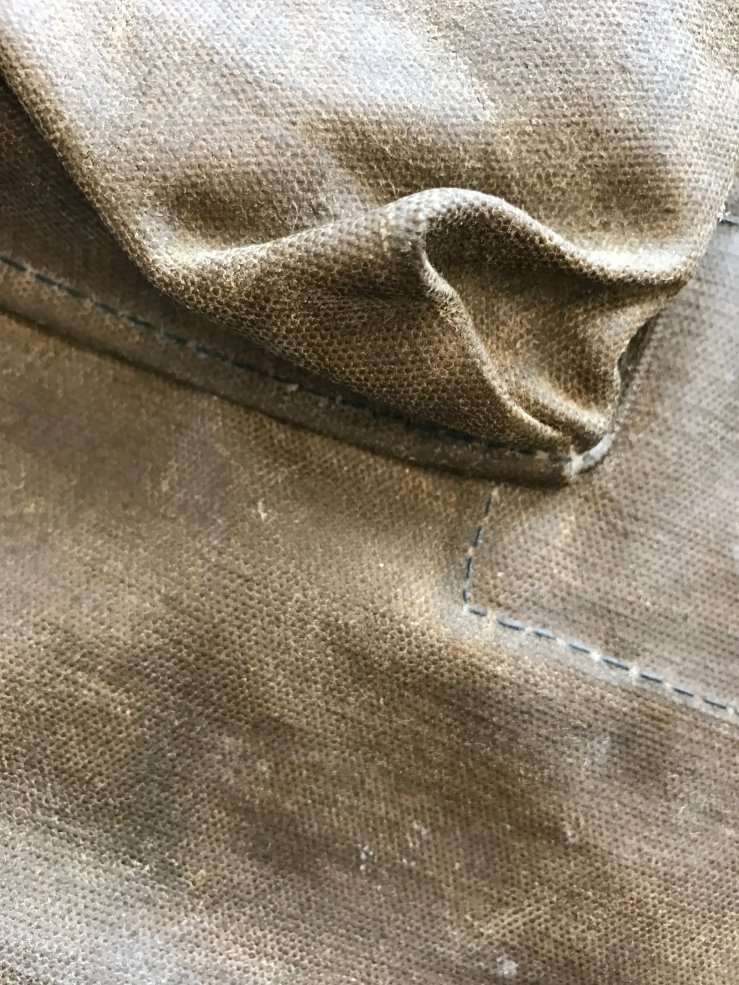
The bag’s color has changed quite a bit, as has the feel – it’s soft and supple, almost like leather.
Being hand-waxed, the color and texture is uneven – but not in a mottled way. It looks hand made and aged.
You can see Before and After galleries (respectively), below.
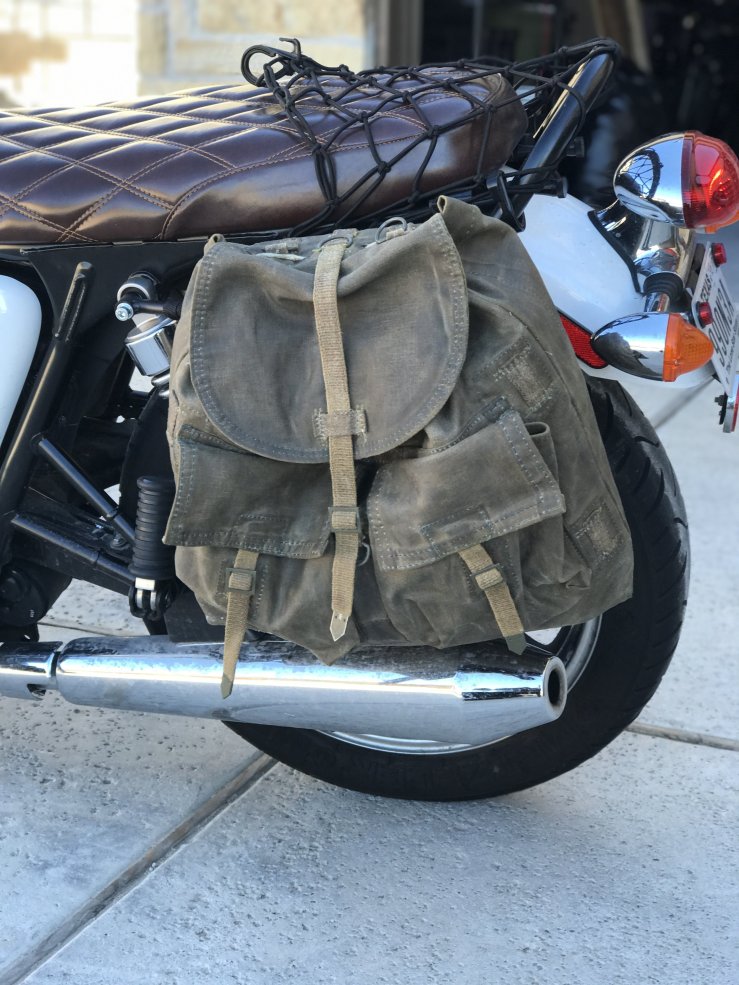
One important thing to note: the bag is slightly too tall on the right side – it rests on the exhaust. (I’ve already melted off some wax, which I will have to reapply.)
The fix: attach the right strap to the grab rail, which raises it up enough to avoid resting on the exhaust. Of course, you may not have a grab rail, so keep exhaust clearance in mind as you plan your project.
I would absolutely use this method again. In fact, I’m looking for a vintage cotton canvas surplus backpack.
Have you done something similar?